Showing posts with label Halloween Crafts. Show all posts

Wednesday, October 24, 2012

There Was An Old Lady Who Swallowed A Bat! and a Bat Craft


Today we read the book
"There Was An Old Lady Who Swallowed A Bat!"
by: Lucille Colandro

This book is about an old lady who swallowed a wizard, some bones, a goblin, a ghost, a cat, an owl, and a bat! Imagine that! We read this book over and over, what a hit!
After the excitement of the book we made a bat craft, that turned into two crafts!

Above is the finished craft. It didn't quite turn out like I thought, but that's alright.


For the bat craft we used:
A bat template from google
Black construction paper
Pom-poms to paint with
Painter's tape to tape down the bat template
paint tray
Different color paint, we used Halloween colors


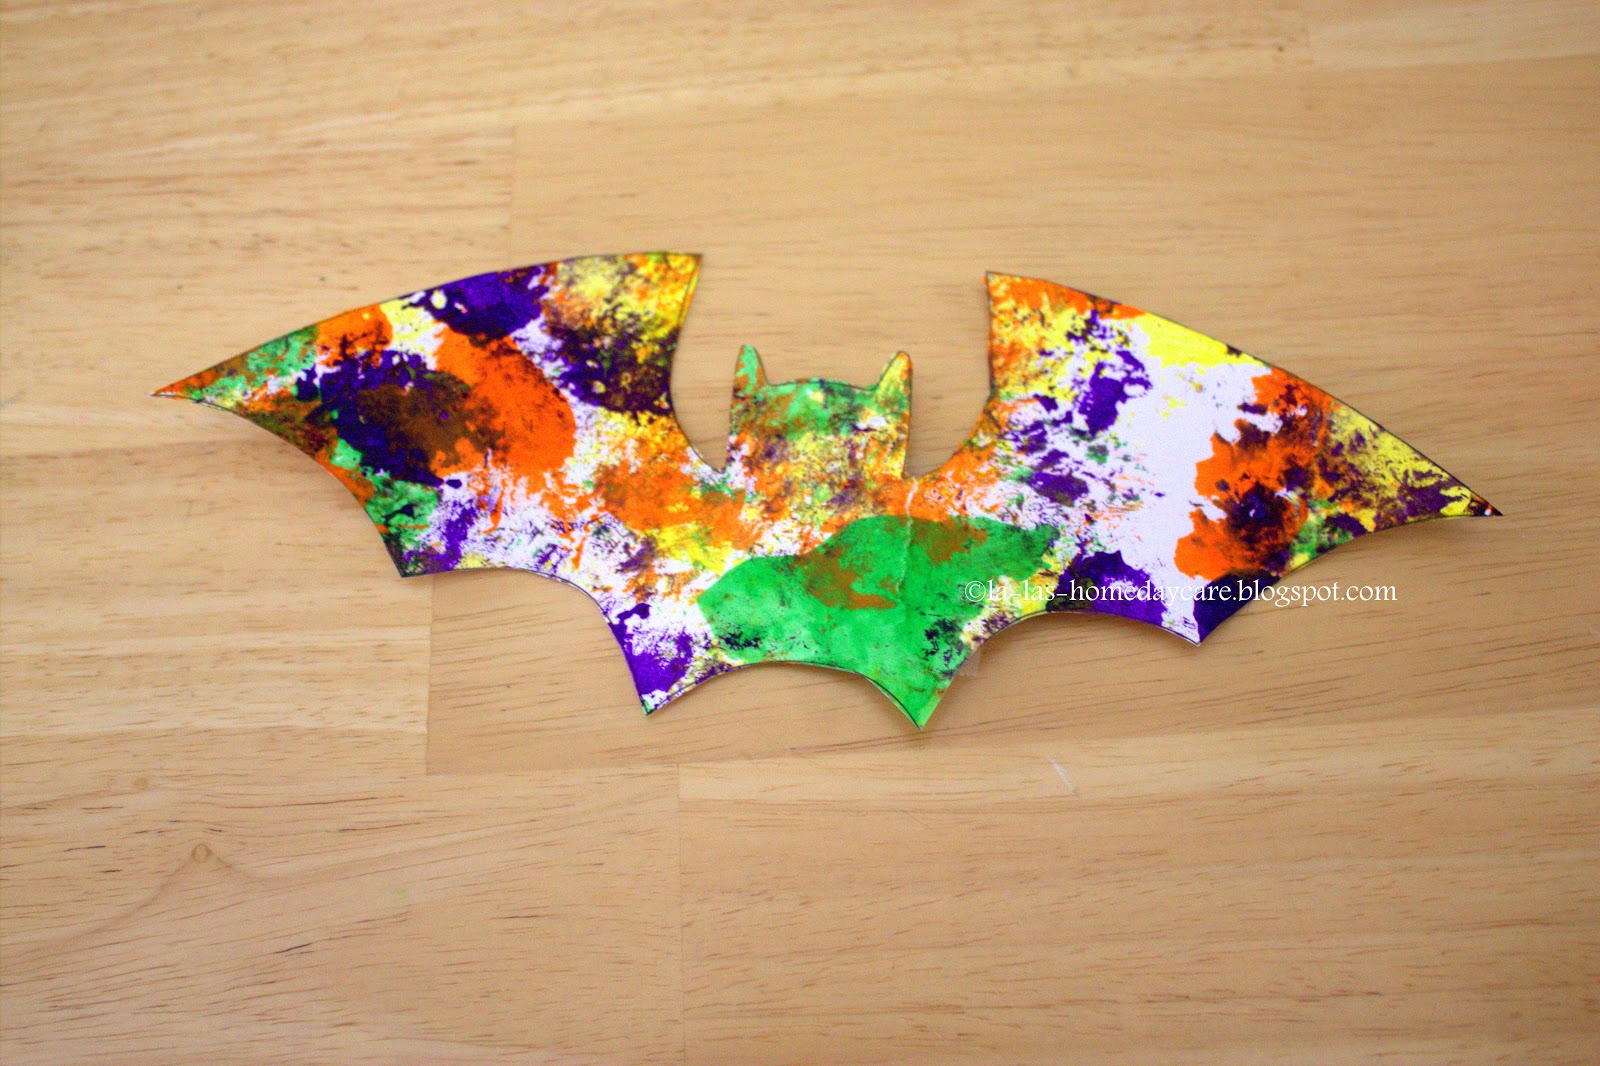
 found craft here.
 And above is the surprise craft, I really love this one!
These will go in their binders.

 We also worked in their lapbooks. We read over the Halloween words and counted Halloween spookies. I forgot to share a picture of the inside.
I cut pumpkins with my Cricut for them to draw faces on to make Jack-o-Lanterns, and they also traced the Letter Hh.

 Color the Pumpkin worksheet.
Pre-Writing practice, umm, I didn't pay attention to the top, Cutting practice. Anyway, they had three sheets this time.

All worksheets and Halloween word and counting book can be found here.

Thanks so much for stopping by,
Lori

Tuesday, October 23, 2012

Ten Timid Ghosts and A Witch Craft


Today we read the book
"Ten Timid Ghosts"
by: Jennifer O'Connell

The story is about ten timid ghosts who have a problem with a witch. With lots of counting and rhyming and fun illustrations, the children loved how the ghosts figured out how to get rid of the witch! 

After reading the book we made a fun Witch Craft!

 Items Used:
Black construction paper for hat and nose
White cardstock for face
Googly eyes
Black marker for mouth
Yarn for hair
Glue
Staple Machine
 Craft found here

Later we work on Halloween worksheets.
found here.

Thanks for stopping by,
Lori

Monday, October 22, 2012

Too Many Pumpkins and A Painted Pumpkin Patch


We read the book 
Too Many Pumpkins
by: Linda White

The book is about a woman named Rebecca Estelle and she hates pumpkins. She was forced to eat them everyday as a child. One day years and years later an overloaded truck dropped a huge pumpkin in her yard, and SPLAT, pumpkin and seeds went everywhere. She buried the mess and swore never to think about it! The very next year she ended up with a bumper crop!

This is a great book for ages 4-8, we read every year!

After reading the book we decided to make a pumpkin patch.


To Make:

Orange Paint
Green Marker
Cardstock

Have child make a fist, use knuckles to make pumpkins. Draw stems to complete.

inspiration found here.

Thanks for stopping by,
Lori

Tuesday, October 18, 2011

DIY: Paper Pumpkins


Photo


I saw this cute craft over at Coffee and Laughter with the Harris Family and thought we had to do this! So we gathered our supplies and got busy!
Supplies we used:
orange and brown construction paper
tacky glue
hot glue
staple machine
paper trimmer

Using 9x12 inch orange construction paper, with my paper trimmer, I cut (4) 1x12 inch strips.
Photo
Making a cross first, I added glue, proceeding to an X pattern, adding glue each time forming a sort of star. I then flipped over and stapled for extra stability. 

Photo


Then I started bringing equal side strips around to meet at the top and used hot glue to hold in place, repeating this process until complete. It goes by quickly.
Photo
Using my paper trimmer I cut 1x12 inch strip of brown, then cut in half. I rolled it up and hot glued on top. Well actually the one you see above is for the four year old, he did a great job with his.
I did help the tots, this was bit much for them. They did put some pieces together, and rolled their stems.


We should have added leaves and vines! Oh well, maybe next time. This was fun!


Thanks for stopping by,
Lori


Sharing with..
PhotobucketIt's Playtime at hands on : as we grow
Come Together Kids

Monday, October 17, 2011

Cotton Ball Ghost | Halloween Craft

Last year we made this craft and was never posted. I just ran across the picture over the weekend.
I found this over at Classified Mom. Ours is a little different, but the concepts are the same. 


Items we used:
cotton balls
glue
black and any other color construction paper
googly eyes
scissors
marker
ghost template


I googled a ghost template to trace on the orange construction paper for the kids to follow with glue and cotton balls.
I cut three circles for the eyes and mouth with black construction paper. 
They added the googly eyes last.
And that's it! 


Another simple and fun craft!


Thanks for stopping by,


Sharing with...


Photobucket

Saturday, October 15, 2011

Holiday Kid Craft Link Up | Week 4

Photo


I want to thank everyone for joining in. There are so many great ideas that are submitted each week!


The idea of the Holiday Kid Craft Link Up is to link up any Fall, Halloween, Christmas, Hanukkah, Winter, New Years, any holiday or seasonal craft from now until the end of December.
  • The craft must be kid friendly
  • Do not link up your giveaways
  • Submit the url of your post, not the blog's main page
  • Include my button if you wish or link to me please
  • Visit other blogs, this way we can all learn a new craft for our kids 
  • Your kids craft can be a new craft or one from your archives
  • Please link to where you found the craft from if it's not your original        

Here is what we did this week!
Foot Print Ghost
Photo
We have made these before, but usually we cut the ghost out and hang them up. I saw on Pinterest where they stamped the feet on black construction paper like this and I thought this was a cute idea to send home to the parents. We added a moon and fog to give it a spookier feeling, Booo!


Items we used:

  • black construction paper
  • white tempera paint
  • white crayon
  • yellow construction paper
  • black marker
  • sponge paint brush
  • paint tray 
  • one inch hole punch
Photo
Here I painted their feet and had them stamp it on the construction paper three times. Then I wrote their name and the year.

After they dried I punched one inch circles for the moon and they were glued in place.
I helped the tots add the ghostly facial features with the black marker and the fog with the white crayon.
Photo
Pretty simple and fun!


We read the book "Ten Timid Ghosts" to go along with the craft. 
by: Jennifer O'Connell

Photo

It's Halloween and ten timid ghosts live in a haunted house. When a homeless which decides to move in and scare each ghosts out one by one, the ghosts get angry and decide they should scare her out of their house. This is a counting, rhyming, and repetition book and it's pretty funny! 

Now it's your turn to share your crafts you and your child(ren) have been working on!
Thanks for stopping by,
Lori


Sharing with...
Link & Learn @ No Time For Flash Cards
Classified: Mom


Come Together Kids

Thursday, October 13, 2011

Pumpkin Painting | Free Style Art

Photo
My definition of free style art means to let the children just do anything they wanted with their pumpkins without any instructions. 


Items used:

  • pumpkins
  • tempera paints
  • paint brushes
  • paint trays
  • tot trays
Photo

Photo


Pin It


Ah..But there was a book first!


Too Many Pumpkins!
by: Linda White
Photo


We read this book every year! Rebecca Estelle hates pumpkins because she was forced to eat them as a child because her family was struggling, and that's all they had to eat! So when the pumpkin truck accidentally drops a ripe pumpkin from the back of it's truck in her garden that splattered everywhere, Rebecca Estelle decided to ignore the pumpkin. When she saw vines growing in her garden she decided if she didn't tend to it, her pumpkin problem would go away. Until...Fall came, she discovered she has a problem of epic proportions on her hands: TOO MANY PUMPKINS!

Thanks for stopping by, we enjoyed our Pumpkin Day!
Lori


Classified: Mom

Tuesday, October 11, 2011

Paper Plate Jack-O-Lanterns

We made these paper plate Jack-O-Lanterns last Halloween but they were never posted, so I thought I would share. The pictures are not of the best quality, but it's the craft that counts. :)


Items we used:

  • two paper plates
  • orange tempera paint
  • sponge paint brush
  • black, green, and brown construction paper
  • stapler
I stapled two paper plates together to make the pumpkin.
I drew the eyes, nose, and mouth on black construction paper.
I drew a stem with brown paper, and a leaf with the green construction paper.


They began by painting both of their paper plates.
Tempera paints dry fast and these paper plates were very absorbent.

After they dried I stapled the two plates together. They boys added the Jack-O-Lantern features, stem and leaf.

Very simple and fun craft!

Pin It

Thanks for stopping by!


Sharing with..
Sharing Saturday
The Sunday Showcase

Thursday, October 28, 2010

Kitty Cat Pumpkins


If you want to make pumpkins you do not have to carve and that are not scary these are the cutest!
I found my inspiration from my all you magazine Halloween issue from last year. Although mine are some what different results are basically the same. And easy to make.


Items Needed that I used:

Small pumpkin
Black and Orange Card stock
Googly eyes
Glue
Pipe cleaner
Hole puncher
Marker
Toothpicks
Black electrical tape
Tack to make holes for ears
Scissors

Take the black card stock and cut 3 inch triangles for ears. Orange, cut 2 inches, glue the orange on top of the black. I hole punched the black card stock for the polka dots on the ears and glued in place.
Next use the black tape to adhere the tooth in place on the back of each ear. Use the tack to start the hole to place the tooth pick in the hole. Some pumpkins are tough, I had to use a knife to help the tooth pick through one.
Glue the eyes in place.
Cut a 1/2 to 1 inch triangle for the nose and glue in place.
Use the marker to draw the mouth.
I used hot glue for the whiskers which you can see. You may want to use tacky glue instead.

Once you've added the whiskers you are done.

The results are cute!
Twitter Bird Gadget